
Introduction
Gift-giving is a heartwarming tradition, and nothing adds that extra touch of thoughtfulness like a beautifully crafted ribbon bow adorning your presents. Learning how to make ribbon bows for gifts is a skill that can bring a personal and creative flair to your gift-giving endeavors. In this guide, we’ll take you through the steps to create stunning ribbon bows that will leave a lasting impression on the recipient.
Materials Required
Before we dive into the detailed steps, let’s ensure you have all the materials you need for this delightful DIY project:
- A spool of ribbon (various colors and patterns for creativity)
- Scissors
- Ruler or measuring tape
- Optional: Wire twist ties or floral wire for added stability
Step 1: Choose Your Ribbon
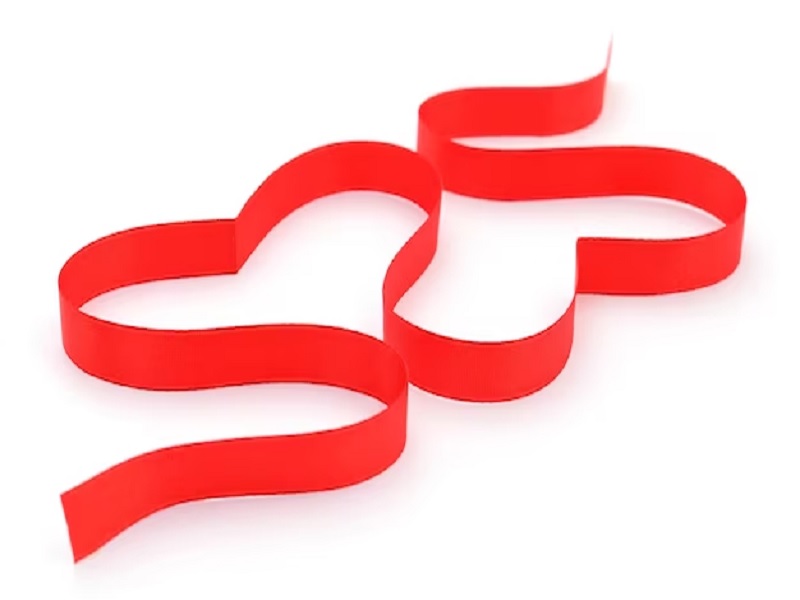
The first step is selecting the perfect ribbon. Depending on your gift’s theme and your personal style, you can opt for satin, grosgrain, or even burlap ribbon. Choose a color or pattern that complements your gift.
Step 2: Measure and Cut
Measure the desired length of your custom ribbon. Typically, a length of 24 inches works well for an average-sized gift. Cut the ribbon neatly using sharp scissors.
Step 3: Forming the Center Loop
Fold the ribbon in half to create a center loop. The folded end will be the center of your bow.
Step 4: Creating the First Bow Loop
Fold one end of the ribbon towards the center, creating the first loop. Ensure it overlaps the center loop slightly.
Step 5: Crafting the Second Bow Loop
Repeat the process on the other side, creating a symmetrical loop. The two loops should be roughly the same size.
Step 6: Forming Additional Loops
For a fuller bow, you can continue to create additional loops on each side. Make sure each loop is slightly larger than the previous one.
Step 7: Securing the Bows
Hold the loops in place at the center using your fingers or a twist tie, securing them tightly.
Step 8: Trimming the Tails
Trim the ribbon tails to your desired length, ensuring they are uniform and neat. A diagonal cut can add an elegant finish.
Step 9: Adding Finishing Touches
To hide the center of your bow, you can use a smaller piece of ribbon or even a decorative button. Attach this over the center using glue or a wire twist tie.
Conclusion
Creating ribbon bows for gifts is a wonderful way to add a personal touch to your presents. With a bit of practice, you can become a gift-wrapping pro, impressing friends and family with your beautifully crafted bows.
FAQs
FAQ 1: What type of ribbon is best for making gift bows?
The best type of ribbon depends on your personal preference and the theme of your gift. Satin, grosgrain, and burlap ribbons are popular choices.
FAQ 2: How do I ensure my ribbon bow stays in place on a gift?
To keep your ribbon bow secure, use double-sided tape or adhesive dots when attaching it to the gift. This prevents it from slipping or falling off.
FAQ 3: Can I use different colors and patterns of ribbon for my bows?
Absolutely! Mixing and matching colors and patterns can add a creative and personalized touch to your gift bows.
FAQ 4: What are some creative ways to use ribbon bows?
Aside from gift-wrapping, you can use ribbon bows for decorating wreaths, hair accessories, and even as a finishing touch on handmade crafts.
FAQ 5: How can I make my ribbon bows more festive?
To make your bows more festive, consider adding glitter, small ornaments, or festive trinkets to the center. This adds a dash of holiday cheer to your gifts.